
 EN
EN
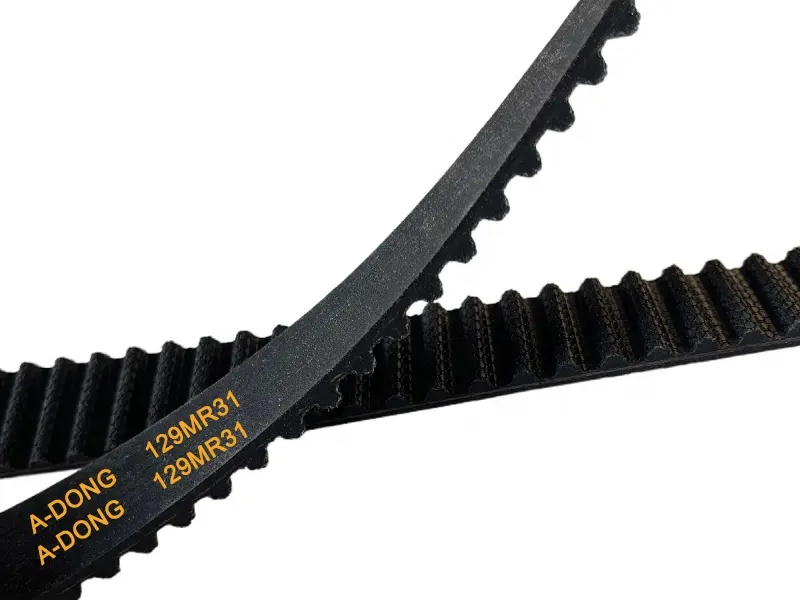
The importance of proper installation of an engine drive belt (V-belt, timing belt, PK-type ribbed belt) is second only to proper use of the materials of the belt. With proper installation, a belt will provide maximum power transfer, improve component life, and prevent sudden catastrophic failures which could harm pulleys, belt tensioners or even the entire engine valvetrain system. On the other hand, if incorrectly installed, the strength of belt or the level of chosen rubber composition used to its construction may prove insufficient to resist wear. Xingtai Guanpin Rubber Products Co., Ltd (Guanpin) have over 26 years of installation experience, based on the production engineering feedback and field service. This practical guide truly explains the right way to install a belt.
Pre-Installation Checks – Pulley Condition and Component Alignment
Before even unwrapping a new Guanpin belt, thoroughly inspect the entire drive system. The pulley surface should be clean, smooth and free from rust grains (pits), burrs and dried rubber. Use an emery cloth or fine wire brush to remove any old belts from the sender so that no parts of the old belt are hanging on the ridges of the belt can be applied in the area (even belt sections that are glued onto the accessory can shorten the life of the new belt for the same part). Even as little as 1 mm off-sense of alignment causes one side to be more stressed with the belt than the other and results in belt noise and heat generation. Use either a straight edge or laser for checking pulley alignment. In addition, rotate each pulley with your hand and inspect them, to determine if there are any irregularities in the bearings or if any pulley is vibrating – if either of these problems occur, a new belt will blow out in some time.
Correct Routing and Tensioning – Following the Diagram Exactly
The modern serpentine belts usually wrap around pulleys in non-obvious manners such as wrapping around reverse idlers. Check routing decal (usually located on the radiator fan shroud or under the vehicle's hood) or the service manual. When the decal has been removed, sketch the trajectory of the old belt before it is temporarily removed, indicating the grooved (drive) pulleys and smooth (backside idler) pulleys. The most frequent installation mistake is around a mis-routed tensioner (usually around the wrong side) or around a mis-routed water pump pulley. When the belt is a V-belt, a 10-15 mm bend is considered to demonstrate adequate belt tension. However, for PK multi-ribbed belts, if they are to be installed by hand the belt indicator on the automatic tensioner should be in the "OK" range at this time. After reading the instructions on the tension gauge (frequency meter or force deflection meter) set the recommended Newton value by the vehicle manufacturer precisely in a manual tensioning system. Specific elongation and tension suggestions are given in Guanpin's technical data sheets (available by request) for each belt model.
Special Precautions for Timing Belt Installation – TDC and Cam Locking
The timing belt is considered the highest accuracy type of belt to install since it's the timing belt that synchronizes the crank/camshaft. Before the old timing belt is removed, determine if the timing marks on the camshaft align with the cylinder head timing marks, and then rotate the crank shaft to TDC (Top Dead Center) on the time of the compression stroke. Use the appropriate locking tools to lock camshafts and crankshaft, never based on just paint marks. The new Guanpin timing belt's teeth will fully enter into the valleys of the sprocket, without "tooth jump". After installation, turn crankshaft by hand (using a belt wrench) for two full revolutions, and retake all timing marks. This is a key process that demonstrates that it's not slipping a tooth, as the whole belt is stretched. Moreover, if there are any flaws with the water pump, or if the bearings are worn, the new belt will be polluted and will fail more quickly. The basis of engine safety is a correct initial timing, but Guanpin timing belts have a life of 60,000 km, with a visible wear indicator alarming color change.
Post-Installation Verification – Re-Torque and Run-In Procedures
A post run inspection is essential to any type of installation. If the belt is installed, warm up the engine without revving the engine (2-3 minutes) then shut it down. Re-check tensioner indicator, and check for belt tracking (should be centered on all pulleys and not pushing off against edges). If there is an amount of side-to-side movement in the pulleys of greater than 2 mm, the pulleys are not coplanar, stop and realign the pulleys. A great many belts, including Guanpin's, go through a “bedding-in” stretch at the initial 500 km driven, then have the deflection measured again, and the tensioner bolt re-torqued to the specifications of its manufacturer on a manually-tensioned system. If you are using an automatic tensioner, check to make sure that the arm with the spring on it does not exceed its travel limit. Finally, take the car under test load (A/C on & high electric load) and listen for a squeal or chirp as this would signal belt slippage. During service, please stick to the following guidelines, Guanpin will provide break in guide lines for all belts for the engineering to achieve 60,000-100,000 km service life.
With this in mind, the final step in achieving a top-notch belt is ensuring that it is installed properly. We don't just offer products, we offer knowledge on the proper installation. I invite you to come with me on the journey to precision and durability, one and again.